What causes a faucet to drip?
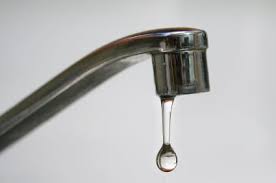
A leaky faucet, if left unrepaired, can become a major problem beyond the money it’s costing you on your water bill. A faucet dripping water can be indicative of a larger problem that could cost you hundreds of dollars. The most common causes for sink faucets leaking include defective parts like o-rings, washers and gaskets. Corrosion and mineral depostis can also lead to sink faucets leaking.
There may be several reasons behind why your faucet is dripping. Below we review some of the most common causes of a leaky faucet.
Problem in the O ring:
A stem screw is used to hold the handle of a faucet in place. This stem screw includes a small disc attached to it, known as the O ring. This is an integral place where dripping can occur. The O ring can become loose or wear out over regular use, causing the faucet to drip near the handle. Replacing the damaged O ring will fix it if this is the issue. This problem occurs specifically in cartridge faucets.
Corroded Valve Seat:
A valve seat serves as a connection between the faucet and the spout in the compression mechanism. Accumulation of water sediments can cause the valve seat to corrode, causing leakage around the spout area. Make sure that you clean the valve seat regularly with the help of a professional plumber.

Worn out Washer:
This is one of the most common causes behind a dripping faucet. During each use, the washer is forced against the valve seat, and this constant friction causes it to wear out. As a result, dripping is noticed around the spout. Dripping caused by worn-out rubber washers can be mended by replacing the washer. This type of leak is found in a compression faucet.
Improper Installation of Washer:
Often, if the washer is not installed properly or is not the right size, it can cause a leaky faucet. We suggest hiring a professional plumber to help you install the washer properly, allowing you to say goodbye to your leak.

Broken Parts
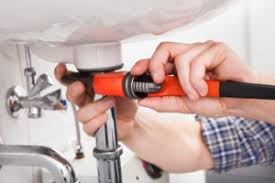
If the leak is coming from the pipes that are under your sink, the most likely issue is a broken fitting or pipe. If this is the case, it’s best to call a plumber, Broken pipeas they will fix the broken pipe problem and ensure no other issues are present.
Loose Parts
Modern faucets have an array of small parts that work together to deliver seamless water flow. After years of use, the parts can wear out and no longer work efficiently.
If the faucet has started to leak close to the base, it may be that the packing nut or adjusting ring is loose. If you have a rotary ball faucet, all you have to do is remove the handle and tighten up the adjusting ring. If there’s still a leak coming from the base, it may be time to replace the seals or springs

Worn-Out Cartridge
A leak in a cartridge faucet could also be due to the cartridge itself, which may need to be replaced. You’ll need to make sure you have a matching replacement cartridge to swap it with.
Worn-Out Seals
Much like the valve seats, inlet and outlet seals can become corroded by the accumulation of water sediments.
Taking the DIY Approach
If you want to try to handle a leaking faucet on your own, there are several steps you can use. These include:
Step 1: Determine the Type of Faucet You Have
You need to first determine the type of faucet you have. This will dictate the direction of the repair. The three most common types of faucets include:
- Ceramic disk faucets
- Ball faucets
- Cartridge faucets
Once you know what type of faucet you are working with, move on to the next step.
Step 2: Prep Your Work Area
Before doing any work on your sink or faucet, make sure to turn off the water supply. You also need to plug the drain with a rag or some other barrier to prevent losing anything down the drain. You don’t want to lose any of the parts! It’s also necessary to remove the decorative part from the handles. There should also be a screw that connects the faucet’s handle to the stem that needs to be unscrewed, and the handle removed.
Step 3: Checking the Parts and Components
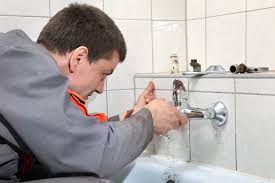
Once you have removed the handle, you can use your wrench to loosen the packing nut and the stem and inspect these parts for damage. Also, check the washer and O-ring in the valve seat. Try replacing the washer to see if that fixes the leak. If none of these steps work, it’s time to call in a plumber. They can quickly and easily identify the underlying issue.